Intro
An Italian charm bracelet is composed of flat, stainless steel links that connect side by side with tiny spring mechanisms. Each link can feature an engraved symbol, enamel design, or gemstone, allowing you to mix and match charms as your life evolves.
Compared with traditional dangling charm bracelets, this modular design feels sleeker, more modern, and endlessly customizable. You can easily swap charms to fit your outfit, mood, or season.
No tools or experience needed. Whether you’re new to jewelry-making or simply want something personal, this guide will show you how to create your own custom Italian charm link bracelet from scratch step by step.

What You Need Before Starting
Before diving into your first DIY session, let’s make sure you’re fully prepared. Building a custom Italian charm bracelet is all about creativity, but having the right materials on hand will make the process smoother, faster, and more enjoyable. Think of this part as setting up your small jewelry studio at home.
Here’s everything you’ll need to get started:
Base Bracelet
This is your foundation. A classic stainless-steel band made of plain Italian charm bracelet links that you’ll customize by adding charms. Choose from silver, rose gold, or even rainbow finishes.
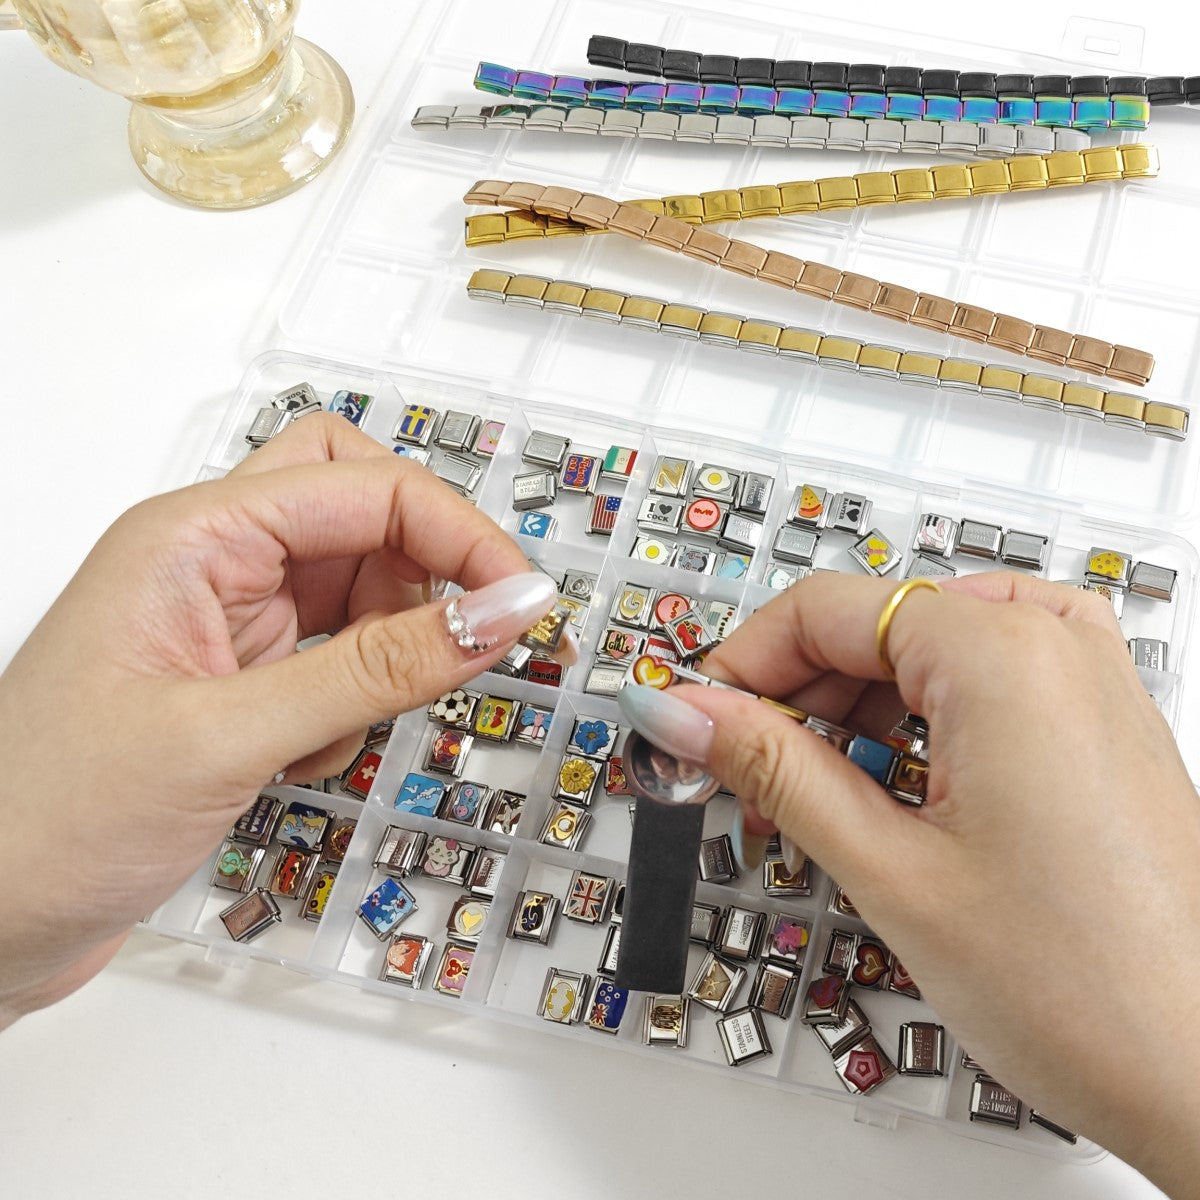
Charm Modules
These are the heart of your bracelet, colorful tiles, symbols, or letter charms that bring personality and meaning to your design. You can start with a few and expand as your story grows.
Charm Opener Tool
A simple metal lever that helps you open and close bracelet links safely without bending the spring. It keeps your italian charm link bracelet in perfect shape while you build.
Flat Surface or Soft Cloth Mat
You’ll need a clean workspace to keep small charms organized and prevent scratches on your links.
Good Lighting
Proper light helps you align charms correctly and admire every tiny detail once they’re attached.
Measuring Tape
Used to check your wrist size and estimate how many links you’ll need for the perfect fit.

Step-by-Step: How to Build Your Italian Charm Bracelet
Building your first Italian charm bracelet is easier than it looks and once you get the hang of it, it’s actually relaxing and addictive.
Each bracelet is made of modular Italian charm bracelet links that connect through a tiny spring system. You can add, swap, or rearrange charms anytime, turning your jewelry into a living scrapbook of your favorite memories.
Here’s a detailed, beginner-friendly walkthrough:
Step 1: Identify the Direction of the Links
Lay your italian charm link bracelet base flat on a clean surface. Take a moment to notice the direction each link opens one side features a small notch or groove. That’s the hinge mechanism that connects each charm.
All charms must face the same direction for a smooth, flexible finish. If one link is reversed, your bracelet may twist awkwardly.
Tip:
Keep the engraved text or design facing outward. Think of this step as aligning puzzle pieces accuracy here saves time later.
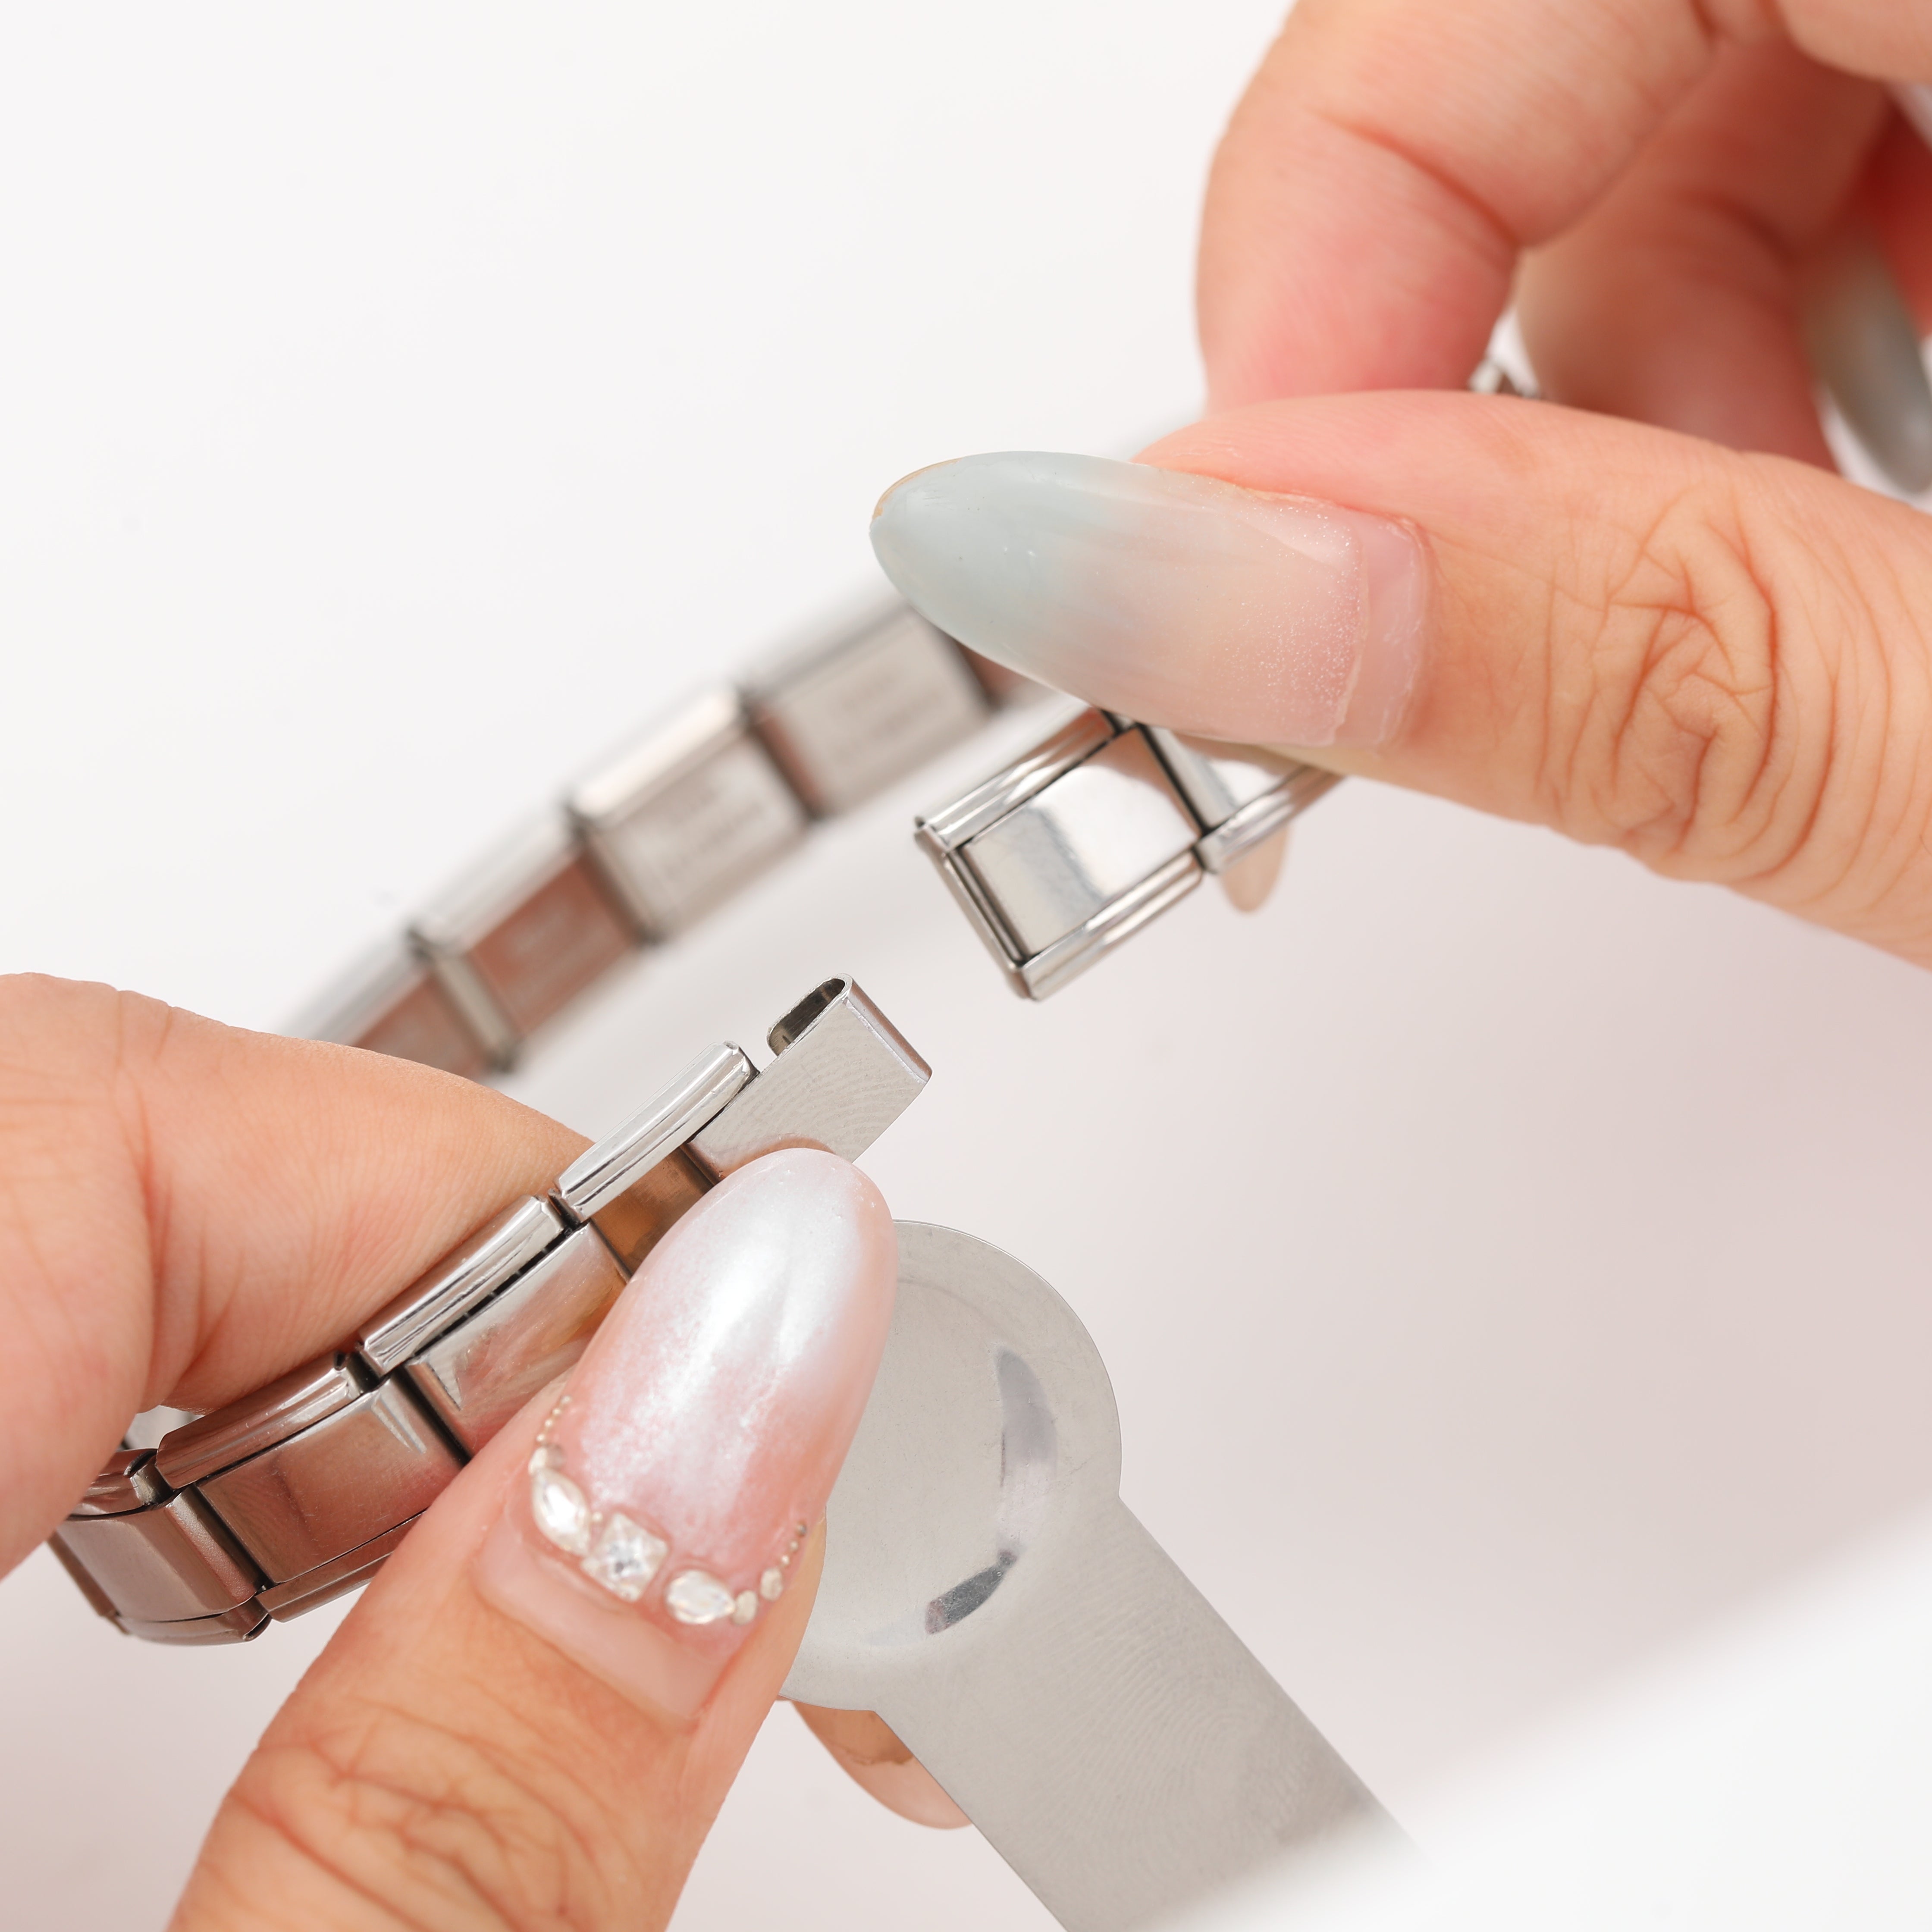
Step 2: Use the Charm Tool to Open the Link
Take your charm opener and slide it gently into the groove of a link. Twist slightly until the spring opens.
Using the right opener prevents scratches or accidental bending, especially important if you’re working with a gold Italian charm bracelet or enamel-coated links.
Tip:
If you don’t have a dedicated charm tool, a small coin or even a sturdy paperclip can do the job. The key is a gentle touch never force the metal open.
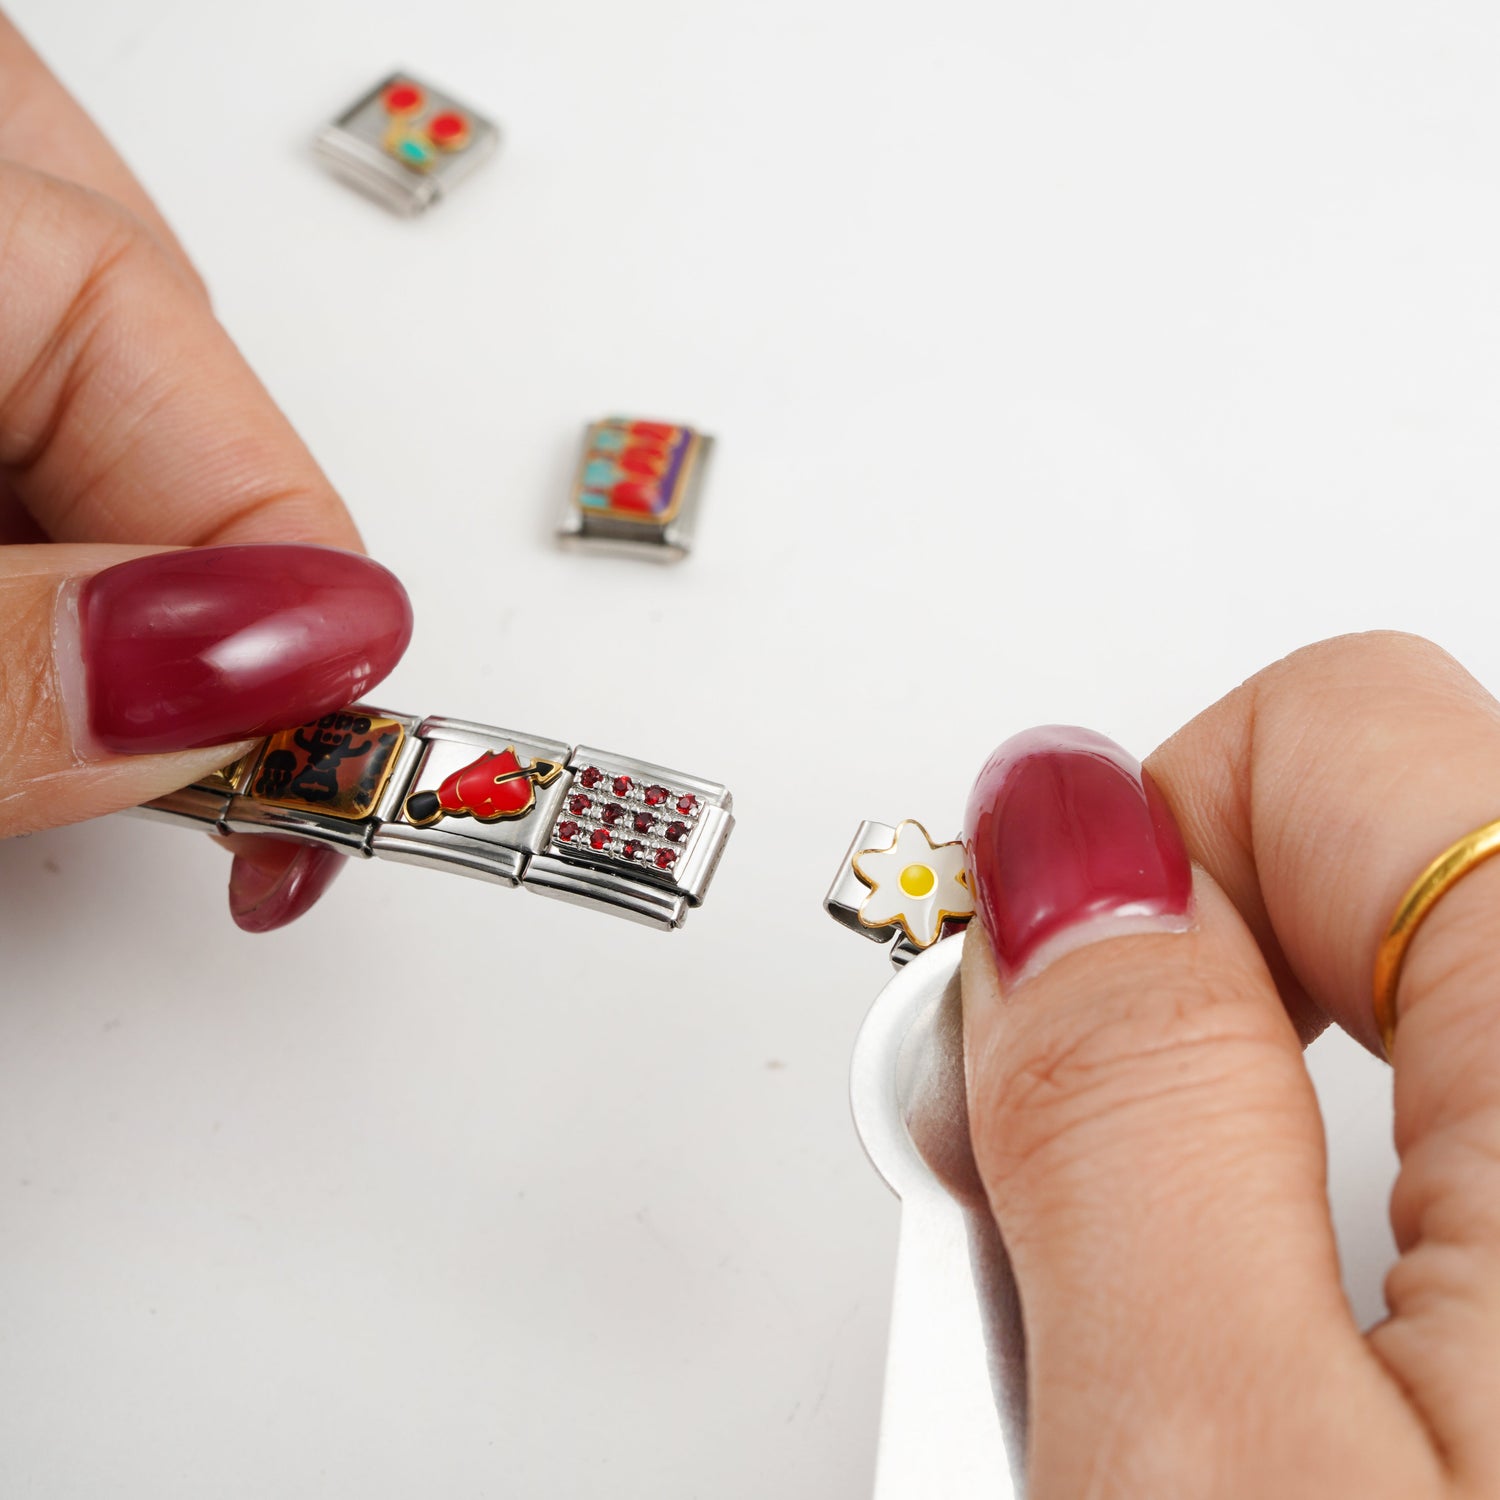
Step 3: Insert the Charm Module
Once the link is open, take your charm tile and align its hooks with the sides of the open link. Gently close the spring until it clicks back into place.
This is where the transformation happens, your bracelet becomes personal. Each charm you add represents a piece of your story, from initials and zodiac signs to travel icons or lucky symbols.
Tip:
Start from the center of your bracelet and work outward to maintain visual balance.
If you’re creating a two-tone gold and silver Italian charm bracelet, alternate colors for a chic, layered look.
Step 4: Continue Adding and Balancing Your Design
Now that you know the motion, keep adding charms one by one.
You can organize them by theme — love, travel, family or mix designs for a spontaneous aesthetic.
Try pairing plain silver links with a few gold Italian charm bracelet tiles for contrast.Add a single statement charm near the center as your visual anchor.Too many heavy charms on one side can affect the bracelet’s flexibility and cause uneven wear.
Step 5: Test, Adjust, and Secure the Fit
Once your bracelet looks complete, test its flexibility by stretching it gently.
It should expand smoothly and retract without resistance. Wrap it around your wrist to check comfort.
Proper tension ensures durability and comfort. A well-assembled bracelet should feel secure but never tight.
Tip:
If it feels stiff, remove one charm and reposition it. If it’s too snug, add one or two blank Italian charm bracelet links for breathing space.

Common Mistakes Beginners Should Avoid
Forcing the Links Open
Using excessive strength bends the internal spring or distorts the link, making it hard to reconnect properly. Once the tension is lost, the bracelet will no longer stretch smoothly and replacing broken links can be costly.
Skipping the Charm Tool
Not only can this scratch your gold Italian charm bracelet, but it’s also painful and unsafe. The edges of stainless-steel links are firm and tightly connected. Forcing them open without a proper tool risks bending the sides or breaking the enamel surface.
Assembling in the Wrong Direction
Every Italian charm link opens only one way. If you mix directions, the bracelet will twist awkwardly and the designs won’t align. It also creates unnecessary strain on the spring connections over time.
Overloading the Bracelet with Charm
Too many heavy or thick charms make the bracelet rigid and uncomfortable to wear. Overcrowding can also loosen the connecting springs and cause uneven tension between links.
How Many Charms Should an Italian Charm Bracelet
Have?
Standard Size
A traditional Italian charm link bracelet usually contains 18 to 20 links for an average adult wrist.This configuration ensures full flexibility while leaving space to expand as your collection grows.
Wrist Size
For petite wrists (below 15 cm / 6 in): 17–18 links is ideal it feels snug without stretching the springs.
For average wrists (15–17 cm / 6–6.7 in): 18–20 links provides a balanced fit.
For larger wrists (17 cm / 6.7 in and above): 21–23 links keeps it comfortable and stylish.

Who Is This Bracelet Perfect For?
An Italian charm bracelet fits almost anyone who loves meaning and creativity. Its modular design makes it a perfect match for every kind of wearer:
The Memory Keeper Turns life’s milestones into charms, building a personal story link by link.
The Gift Giver Chooses a custom Italian charm bracelet to express love through thoughtful details.
The Traveler Collects adventures with travel-themed charms like planes or palm trees.
The Style Lover Mixes metals for a modern, layered look using gold Italian charm bracelets.
The DIY Enthusiast Enjoys designing and rearranging charms for a truly personal touch.
At CHARMSDIY, every bracelet is made to grow with you, a wearable story that evolves with every new memory.

FAQ
Q1: Are Italian charm bracelets waterproof?
Yes! Most are made of stainless steel, making them water-resistant and suitable for daily wear.
Q2: Can I mix gold and silver charms?
Definitely, combining gold Italian charm bracelet links with silver creates a luxurious contrast.
Q3: Are these bracelets suitable for sensitive skin?
Yes, they’re hypoallergenic and nickel-free, ideal for daily wear.
Q4: How can I find the best price?
Shop bundles or starter sets at CHARMSDIY for the best value Italian charm bracelets online.
Q5: Can I reuse my charms on a new bracelet?
Absolutely. Each charm is removable, you can rearrange or move them anytime.
Conclusion
Whether you’re designing your first Italian charm bracelet or adding to a growing collection, this modular style invites creativity into everyday life.
Picture this: you’re getting ready for work, layering a sleek silver bracelet with your favorite gold charms or gifting a custom Italian charm bracelet to a friend who just graduated. Each moment becomes more meaningful when every link carries a story.
From students and travelers to sentimental collectors and DIY creators, everyone can use these Italian charm bracelet links to express who they are. Wear it daily for a subtle, elegant touch, or swap charms for different occasions birthdays, anniversaries, or travels.
In the end, your bracelet isn’t just jewelry. It’s a living reflection of you designed to evolve, shine, and tell your story one charm at a time.
Hinterlasse einen Kommentar
Diese Website ist durch hCaptcha geschützt und es gelten die allgemeinen Geschäftsbedingungen und Datenschutzbestimmungen von hCaptcha.