Intro
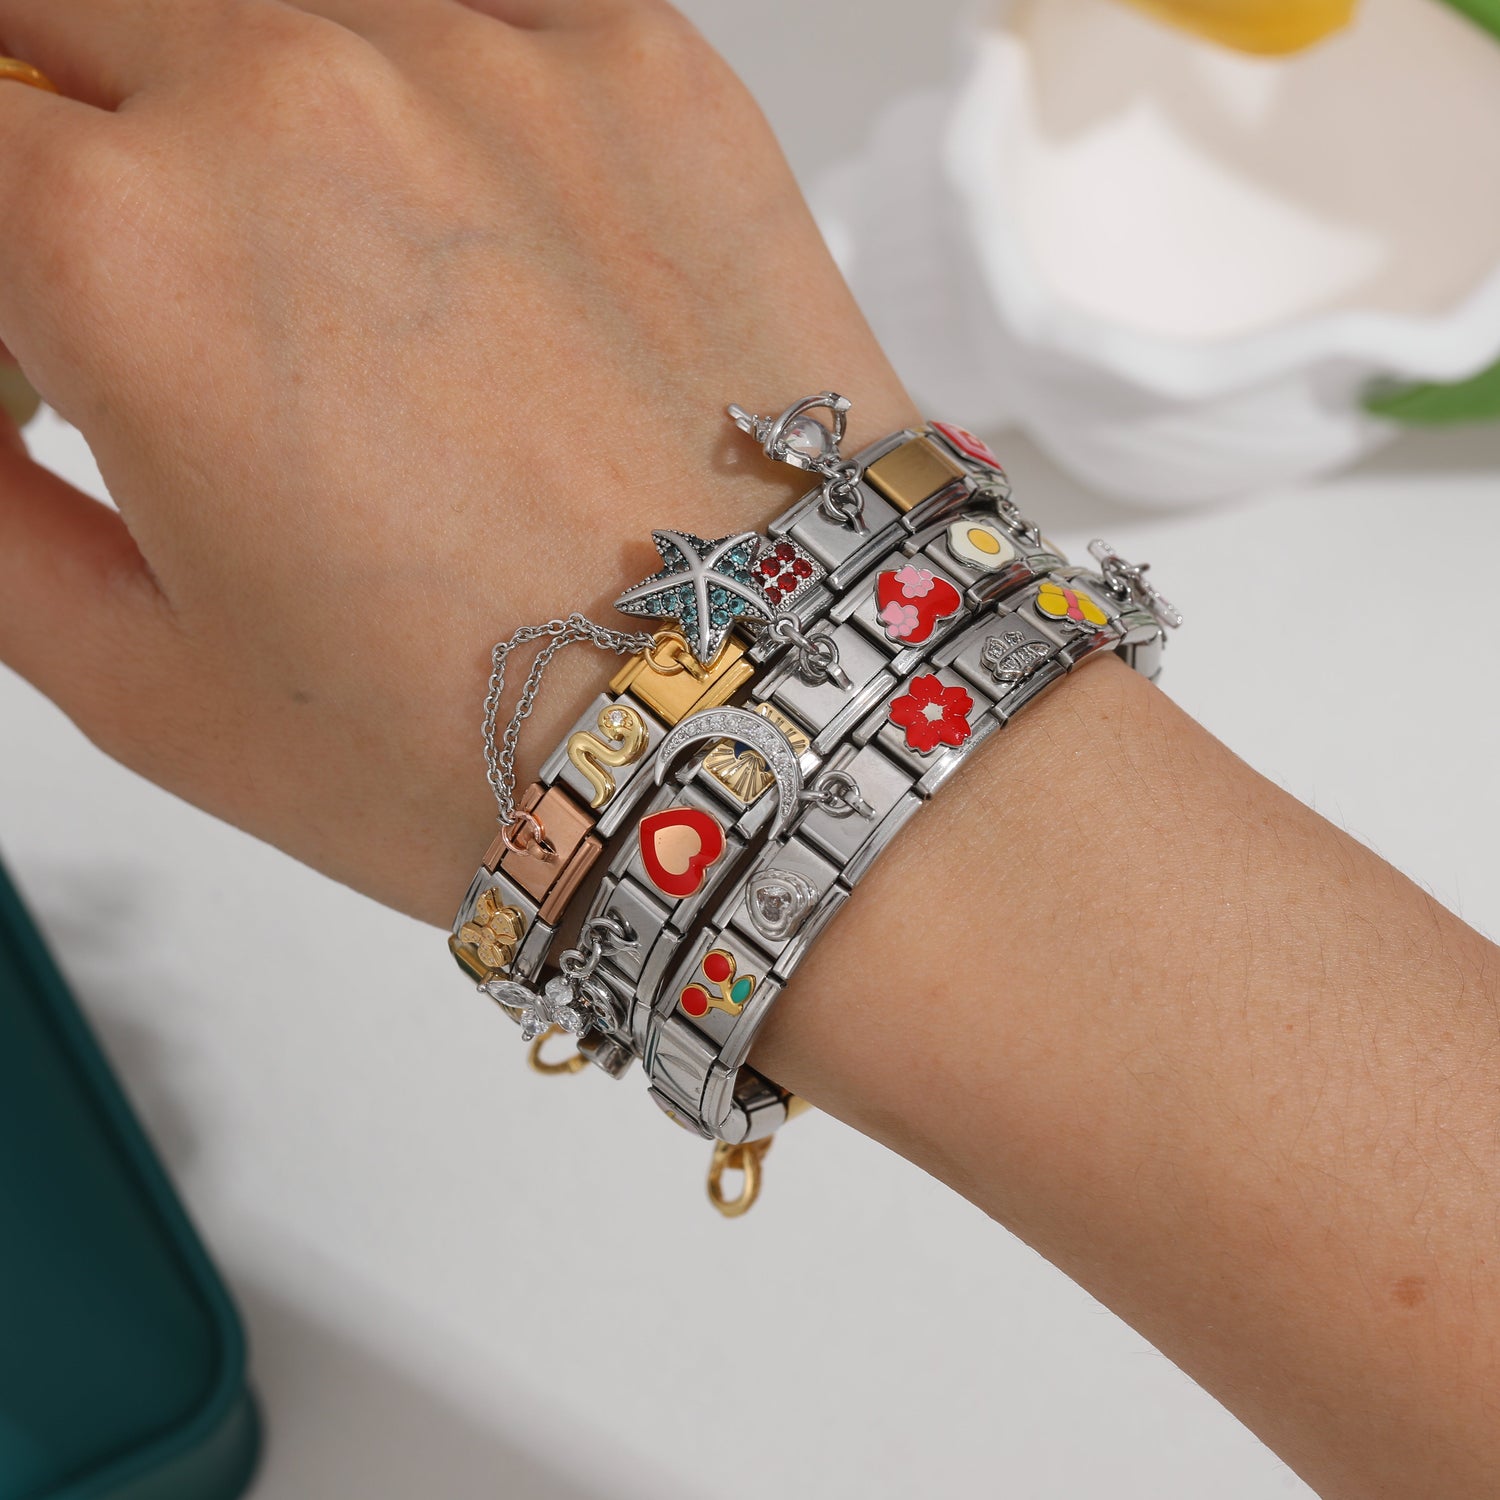
An Italian charm bracelet isn’t your typical dangling jewelry piece — it’s a sleek, modular design made of flat, interlocking Italian charm bracelet links that connect seamlessly to form a personalized band. Unlike traditional chain bracelets, each link can be removed or replaced, allowing you to design your own combination of symbols, initials, and icons that tell your story. It’s simple, elegant, and endlessly customizable.
What makes it so popular is its perfect blend of creativity and meaning. Whether you prefer a minimalist stainless-steel design or a gold Italian charm bracelet that adds warmth and luxury, you don’t need to be a jewelry expert to build one — just curiosity and a few charms that represent your life. That’s why personalized Italian charm bracelets have become the go-to choice for beginners who want to create something personal without complicated tools or experience.
In this complete beginner’s guide, we’ll walk you through everything step by step — from how Italian charm bracelet links work to how to assemble, style, and personalize them. By the end, you’ll understand why this modular masterpiece has captured hearts worldwide and how you can easily start building one yourself today.

What You Need to Build Your First Italian Charm Bracelet
Before you start assembling your own Italian charm bracelet, gather a few basic items. You don’t need professional tools — just these essentials to make your building process smooth and enjoyable:
Italian Charm Bracelet Base
The foundation of your design. Usually a plain Italian bracelet made of 18 stainless-steel links that can be expanded or reduced to fit your wrist.
Individual Italian Charms
The stars of your bracelet. Choose charms that reflect your story — hearts for love, planes for travel, or initials for identity.
Charm Tool
A small opener used to separate Italian charm bracelet links easily without scratching the surface.
Soft Cloth or Jewelry Pad
Keeps your workspace tidy and prevents scratches during assembly.
Lighting and Mirror
Helps ensure proper alignment and polish when creating your custom Italian charm bracelet.

Step-by-Step: How to Build Your Italian Charm Bracelet
Step 1: Understand the Modular Link System
Lay your Italian charm bracelet flat on a soft surface. Each link contains a tiny spring inside that lets it open and lock into the next.
Understanding this mechanism helps you attach or detach charms smoothly without bending the metal. Each Italian charm bracelet link interlocks perfectly, creating a flexible band that moves naturally on your wrist.
Start by practicing with two plain links before adding decorative charms — it’s the best way to learn the motion.
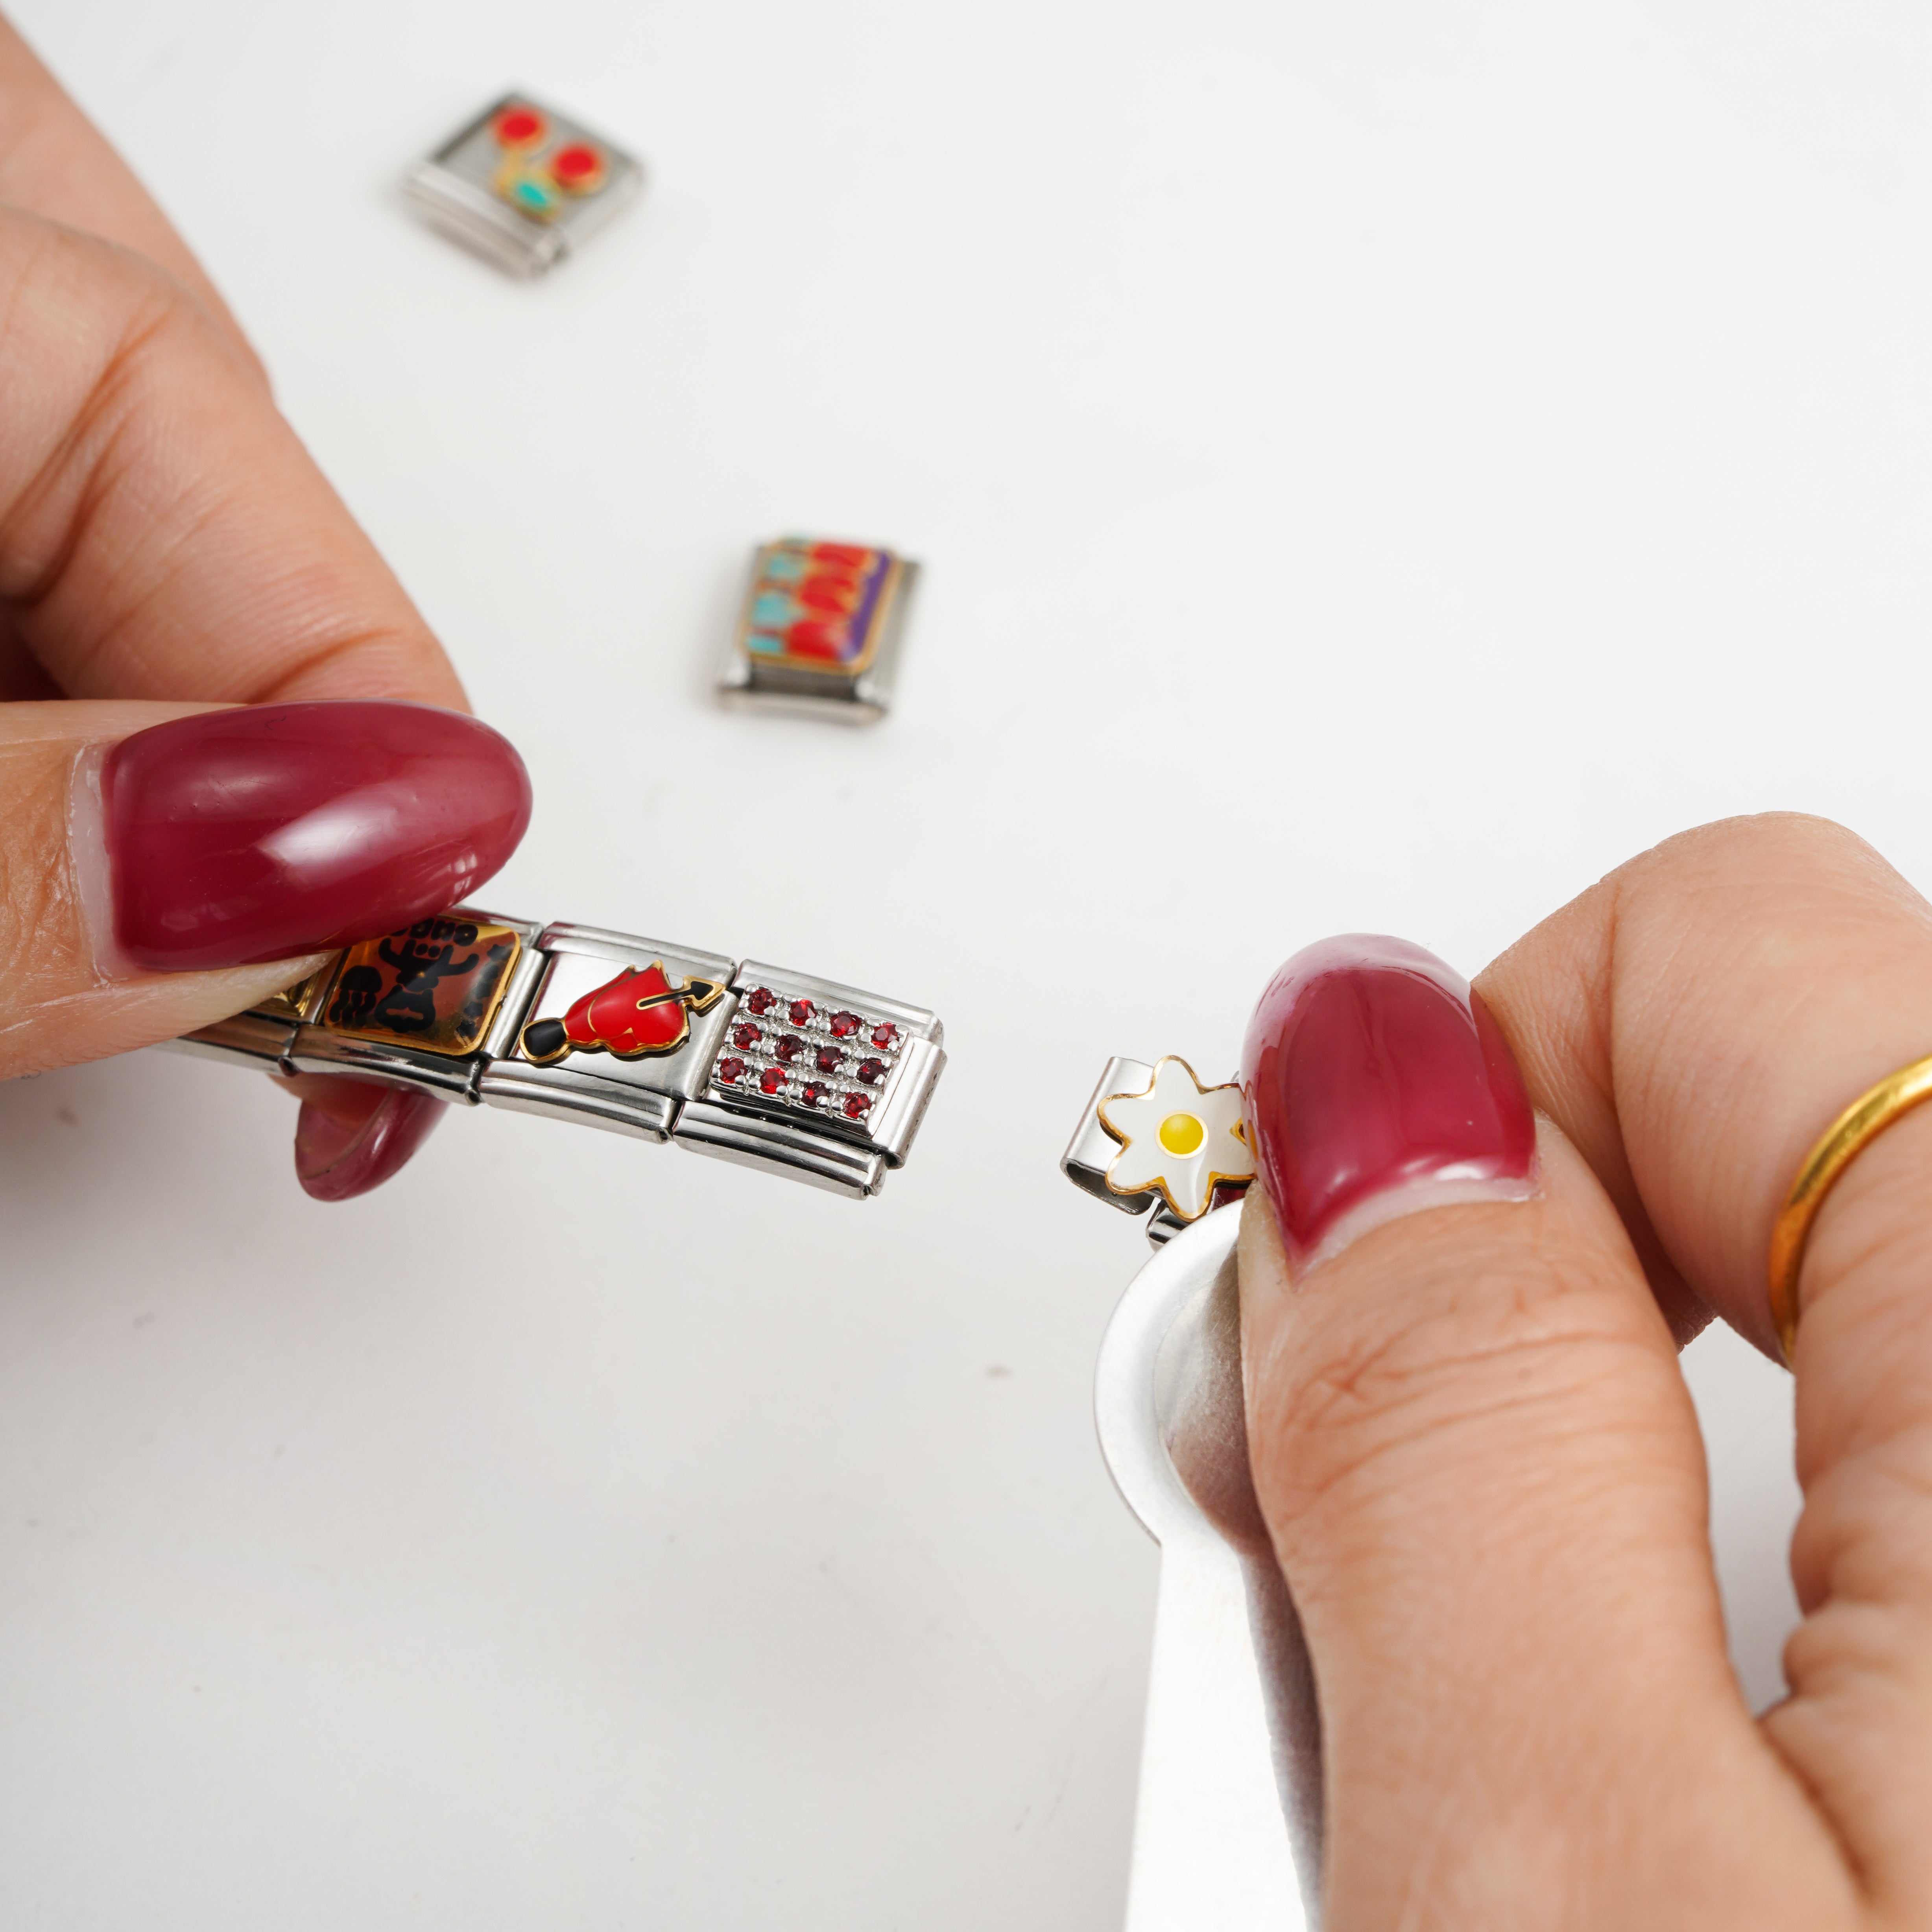
Step 2: Add or Replace a Charm Correctly
Hold one link firmly between your fingers and use the charm tool to twist it sideways. Slide out the old charm and insert a new one — perhaps a heart, a star, or a travel charm. Push gently until you hear a soft click.
Proper alignment ensures your custom Italian charm bracelet looks uniform and lasts longer. Avoid forcing the link open — doing so can weaken the spring or create uneven spacing. Keep all charms facing the same direction for a clean, professional look.
Step 3: Personalize Your Design
Now it’s time to bring your personality to life. Mix and match themes — love, family, travel, food, or even lucky symbols. Alternate between silver and gold Italian charm bracelet pieces for contrast.
You can rearrange them anytime to reflect new memories or moods. Unlike fixed jewelry, a personalized Italian charm bracelet evolves with you — new charms for milestones, gifts, or seasonal looks.
Start simple with 3–5 meaningful charms, then expand as your story grows. Remember: quality over quantity — every charm should say something about you.

Common Mistakes Beginners Should Avoid
Building your first Italian charm bracelet is easy, but there are a few traps that can damage your links or ruin your layout. Avoid these from the start:
Pulling the Links Too Hard
Never yank the bracelet apart. Each link uses a spring-loaded system — forcing it can stretch or break the spring, permanently weakening the connection. Always twist gently or use a charm tool.
Forgetting Charm Direction
Placing charms upside down or sideways disrupts the visual flow. Once linked, charms align in one direction, so always double-check orientation before locking each link.
Mixing Incompatible Brands
Not all Italian charm bracelet links are identical. Forcing mismatched charms can bend connectors. Stick to standardized modular systems — all CHARMSDIY charms use the universal 9mm link for perfect fit.
Overloading Your Bracelet
Too many heavy or thick charms make the bracelet rigid. Leave space for movement — blank links maintain flexibility and balance. Think of it as visual breathing room for your design.
How Many Charms Should an Italian Bracelet Have?
Finding the right number of charms depends on your wrist size and preferred style.
For Small Wrists (13–16 cm):
Start with 15–17 links for a snug, elegant fit. Ideal for minimalist looks with a few key charms.
For Medium Wrists (16–18 cm):
Go with the standard 18-link Italian charm bracelet — comfortable, flexible, and balanced. Mix hearts, initials, and travel symbols for a refined aesthetic.
For Larger Wrists (18–20 cm):
Choose 19–21 links or add extra blanks for breathing room. Perfect for layered styles or heavier gold Italian charm bracelet combinations.
Styling Tips:
Start small and expand as your collection grows.
Keep symmetry — distribute heavy charms evenly.
Test comfort — your bracelet should move naturally without pressure.

Who Is This Bracelet Perfect For?
An Italian charm bracelet isn’t just for jewelry lovers — it’s for anyone who values creativity and storytelling.
The Sentimental Collector cherishing milestones and memories.
The Gift Giver creating meaningful, customizable presents.
The Traveler collecting charms from every destination.
The Romantic celebrating love and connection.
The DIY Creator enjoying the process of building something unique.
Whether you’re starting fresh or adding to your collection, CHARMSDIY helps you turn everyday moments into lasting memories — one charm at a time.
FAQ
1. What are Italian charm bracelets made of?
Mostly stainless steel with gold or enamel accents — durable and hypoallergenic.
2. How do you add or remove Italian charms?
Use a charm tool or twist the link gently — it clicks securely into place.
3. Can I mix gold and silver charms?
Yes. Mixing metals adds character and depth to your custom Italian charm bracelet.
4. Are Italian charm bracelets waterproof?
Absolutely. Gold Italian charm bracelets and steel ones from CHARMSDIY resist tarnish and water damage.
Conclusion
Whether you’re getting ready for a morning coffee date, heading out for a weekend trip, or dressing up for a family gathering, an Italian charm bracelet fits effortlessly into every scene. It’s not just an accessory — it’s a personal storyteller that moves with you through life’s quiet moments and bold adventures.
For gift givers, it’s the perfect way to celebrate birthdays, graduations, or long-distance friendships — a custom Italian charm bracelet built from shared memories. For travel lovers, it becomes a wearable map, filled with charms from every destination. For everyday dreamers, it’s a reminder of love, goals, and identity — always within reach on your wrist.
Style it solo for a minimalist look, layer it with your gold Italian charm bracelet for contrast, or swap out Italian charm bracelet links to refresh your mood. However you wear it, let each charm mark a chapter of your journey — because with CHARMSDIY, your bracelet isn’t just made; it’s lived.

Laisser un commentaire
Ce site est protégé par hCaptcha, et la Politique de confidentialité et les Conditions de service de hCaptcha s’appliquent.